Fix Mac Recovery Mode Not Working

(updated)
Get Free Scanner and check your computer for errors
Fix It NowTo fix found issues, you have to purchase the full version of Combo Cleaner. Free trial available. Combo Cleaner is owned and operated by Rcs Lt, the parent company of PCRisk.com read more.
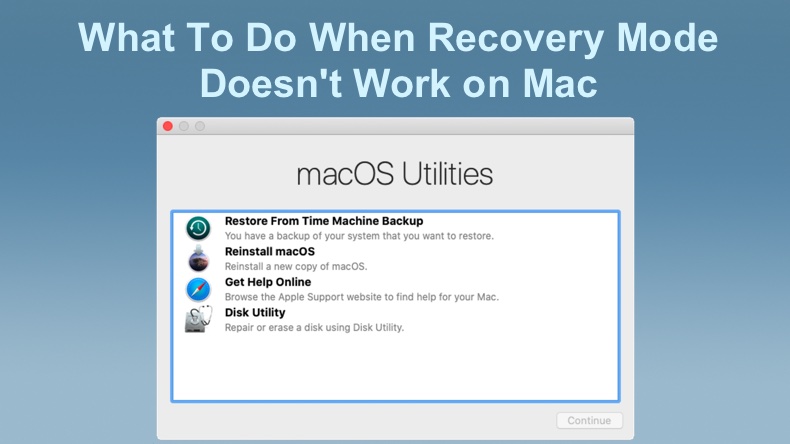
What To Do When Recovery Mode Doesn't Work on Mac?
Due to various reasons, your Mac can become unresponsive, or a malware file could corrupt the operating system. You might also accidentally delete an important system file or want to wipe your Mac clean before selling it. That's where the Recovery Mode comes in handy.
Recovery Mode is a convenient tool, but unfortunately, it's also vulnerable to working issues. It can get stuck while you try to resolve disk problems or some other issue, or you won't be able to boot it at all. There are a couple of reasons why Recovery Mode might not work.
One of the few reasons is that Mac can't create a partition for the Recovery HD. You won't be able to use Recovery Mode if your operating system is older than High Sierra. Also, a file system error can lead to Recovery Mode not working. Recovery Mode will also not boot if your drive is corrupted.
Below you'll find three step-by-step methods on what to do when you can't access Recovery Mode.
Video on What To Do When Recovery Mode Doesn't Work on Mac
Table of Contents:
- Introduction
- Method 1. Fix Recovery Mode with Time Machine
- Method 2. Use Internet Recovery Mode
- Method 3. Create a Bootable Installer
- Video on What To Do When Recovery Mode Doesn't Work on Mac
Fix Recovery Mode with Time Machine
Time Machines can help you restore your files when you can't restore them in Recovery Mode. In this case, you have to have your Backup external drive connected to Time Machine.
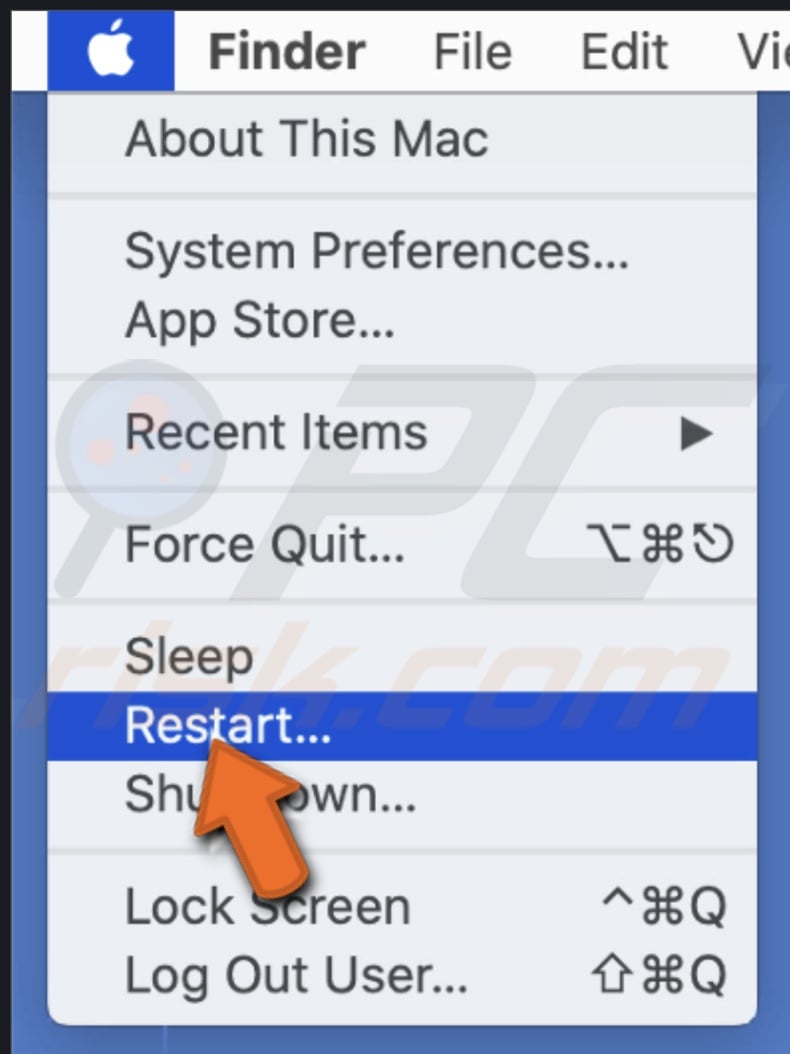
1. Restart your Mac.
2. Press and hold the Option key on your keyboard when you hear the start-up sound.
3. Connect your Time Machine drive. It will take some time for it to boot.
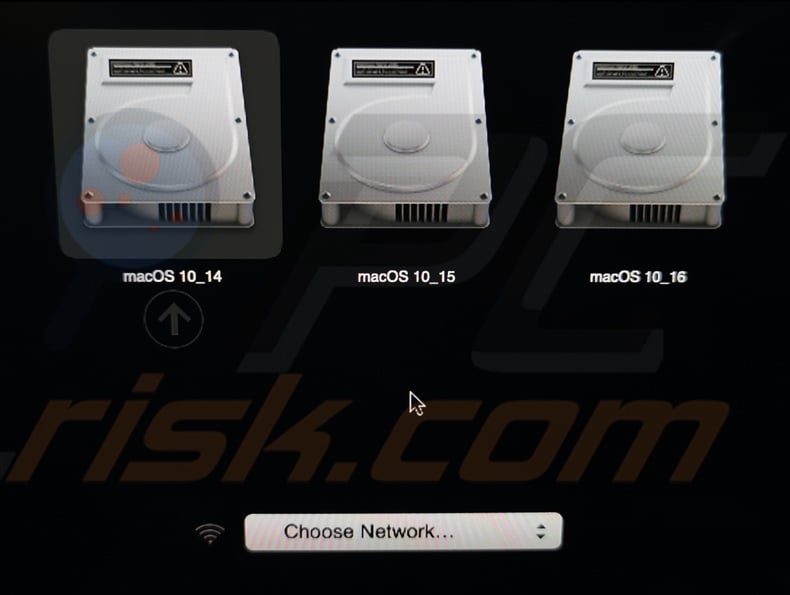
4. Choose the recovery drive to launch your Mac.
5. Click on "Use Disk" to update the system storage.
If this method does not help, try to create a bootable installer.
Use Internet Recovery Mode
Internet Recovery Mode will appear after your computer displays an error message with Recovery Mode not working issue. It can only reinstall the Mac operating system that was initially used by the Mac.
1. Restart your Mac.
2. Simultaneously hold down Option + Command + R keys on your keyboard until you see a globe photo and progress bar.

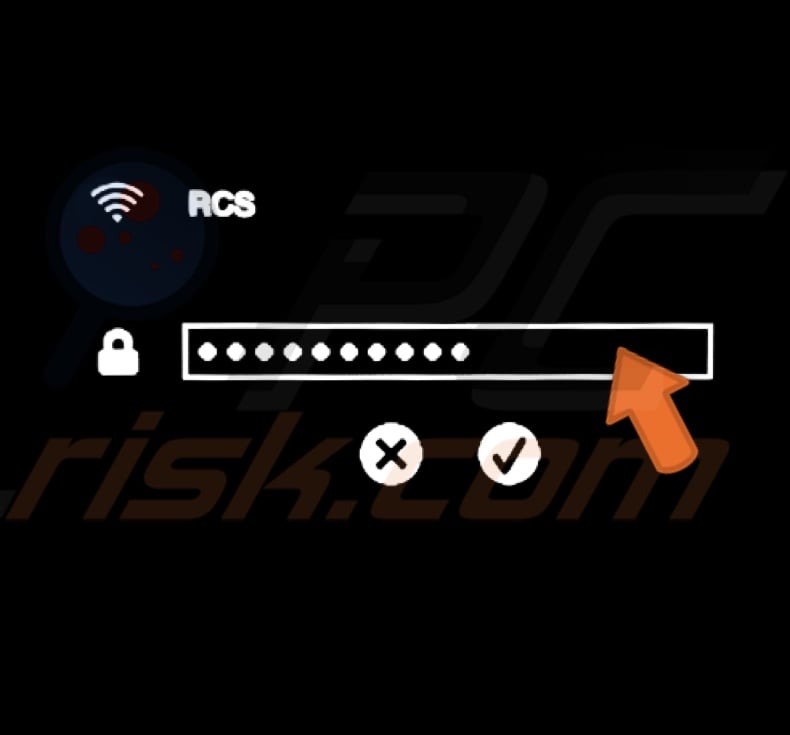
3. Select the internet connection that you're using. Enter the network password.
4. Wait for it to load. You'll see the Recover Mode window popup.
5. Click on "Reinstall macOS" and then on "Continue."

6. Follow the steps to continue the installation process.
Create a Bootable Installer
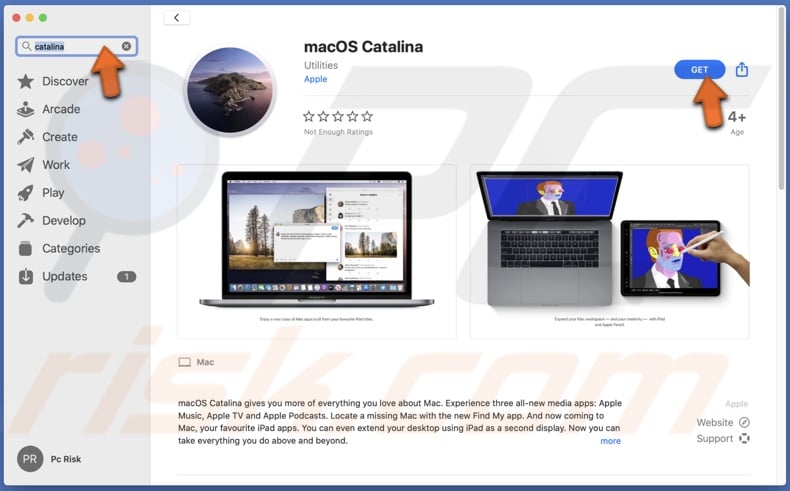
To create an installer, you need to have a USB flash drive with a bootable OS X installer inside to fix the system. Before using the USB, make sure to remove everything from it, as the process will delete your files on the drive. Also, make sure your USB has at least 8 GB of storage. You can download the installer from the App Store or Apple.
1. Download the macOS installer.

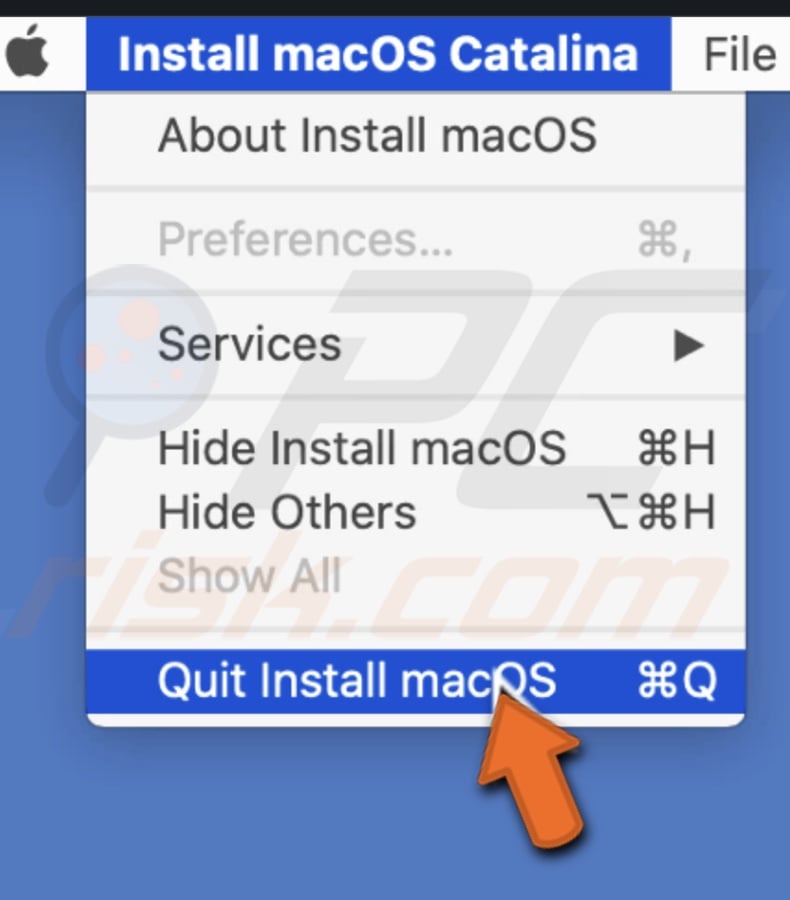
2. When the installer window pops up, go to the upper menu bar, click on the installer menu and click on "Quit."
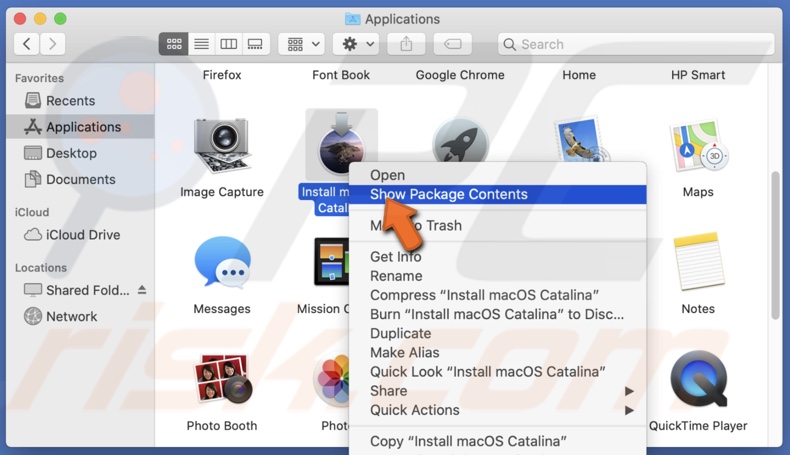
3. Open Finder and go to Applications.
4. Find the installer named Install macOS (OS name), right-click on it, and click on "Show Package Content."
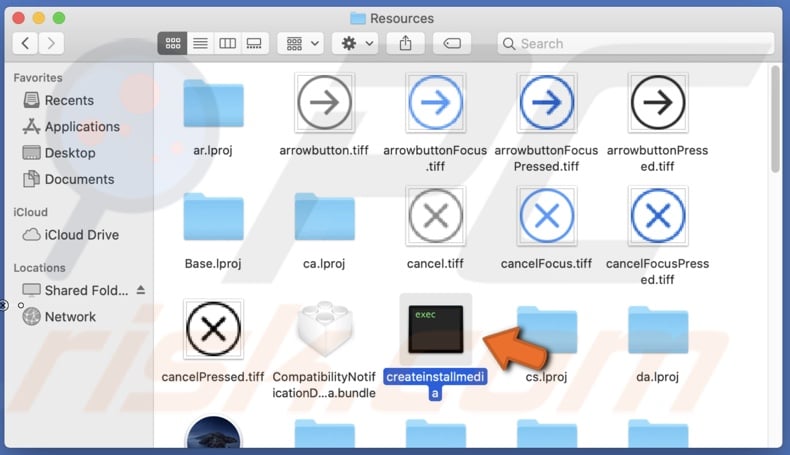
5. Go to the "Contents" folder and the "Resources" folder.
6. Find "createinstallmedia."
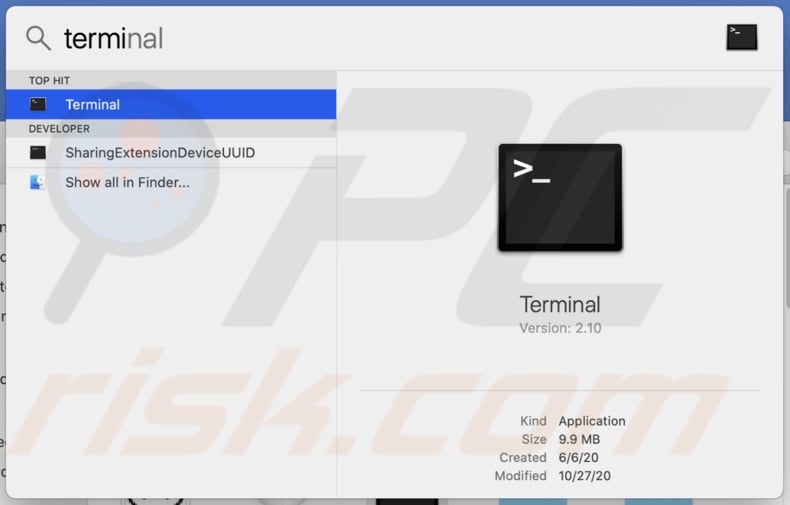
7. Press Command + Space keys on your keyboard to open Spotlight and enter "Terminal" to open it.
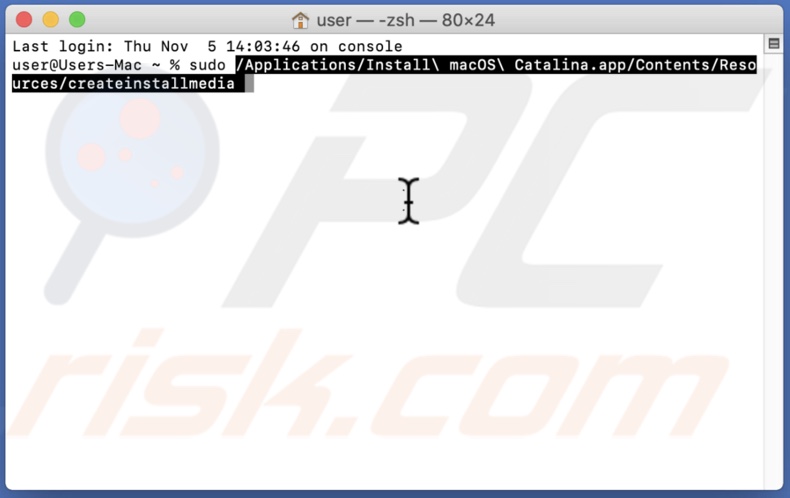
8. In Terminal, type in: sudo (space)
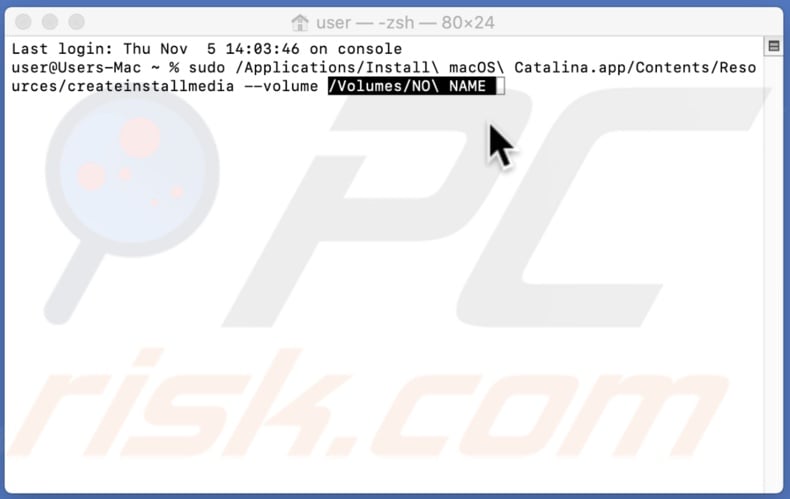
9. Drag the "createinstallmedia" file to the terminal window and type in: --volume (space)
10. In the Finder window, simultaneously press Shift + Command+ G keys on your keyboard.
11. In the bar, enter in: /Volumes
12. Plug your USB drive into your Mac.
13. You'll see your drive appear in the "Volumes" folder.
14. Drag your drive to the same Terminal window.
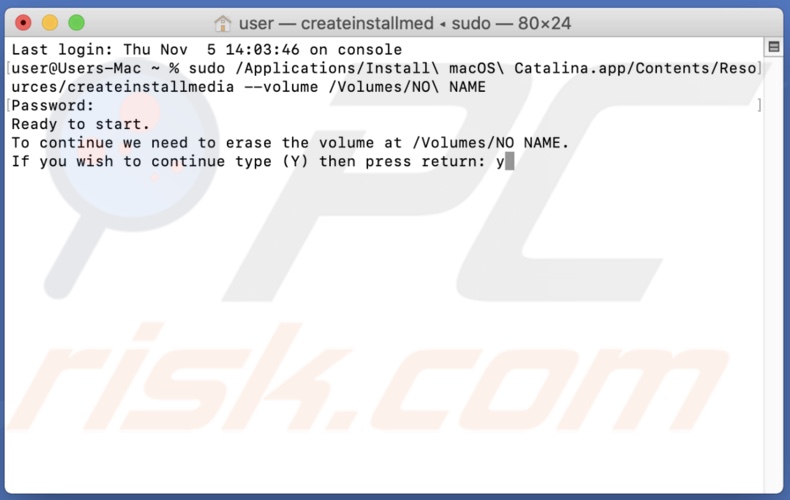
15. In Terminal, press Enter and enter your user password. The password characters won't be shown in the Terminal window.
16. When asked if you wish to continue, enter: y
17. After the disk is erased and the data is copied to your USB, remove it from your Mac.
18. Shut Down your Mac.
19. Press and hold the Option key on your keyboard when you hear the start-up sound.
20. Connect the USB with the bootable installer to your Mac.
21. Click on the drive from the list.
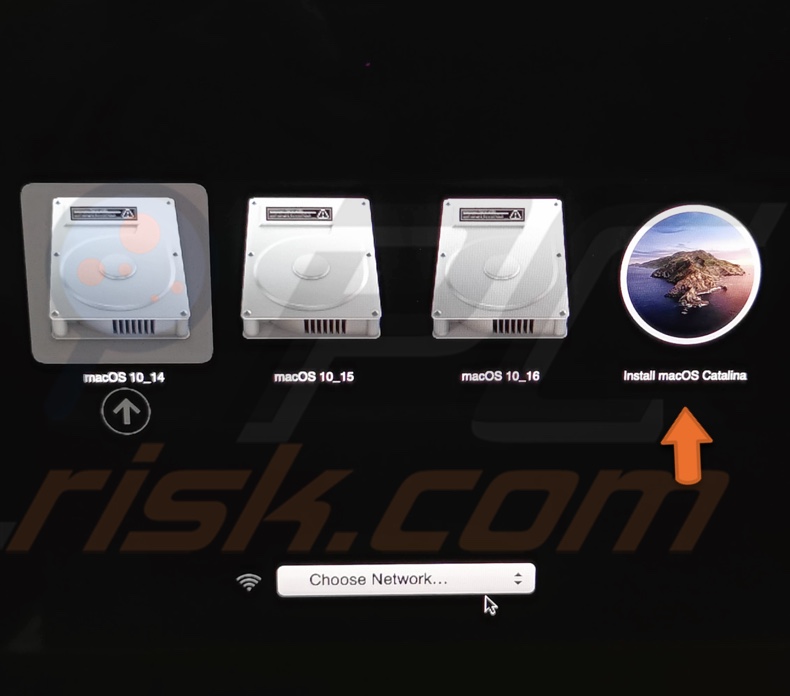
22. Click on Install macOS.
23. Wait for it to load. You'll see the Recover Mode window popup.
24. Click on "Reinstall macOS" and then on "Continue."
25. Follow the steps to continue the installation process.

If Mac fails to install the operating system, try to fix the Recovery Mode by using Internet Recovery Mode.
If you still can't access Recovery Mode, contact Apple support.
Let us know in the comments which method helped you!
Share:

Karolina Peistariene
Author of how-to guides for Mac users
Responsible for collecting, analyzing, and presenting problem-solving solution articles related to macOS issues. Years of macOS experience combined with solid research and analyzing skills help Karolina provide readers with working and helpful solutions as well as introduce various features Mac has to offer.
▼ Show Discussion