Fix ‘sudo apt-get command not found’ on Mac

(updated)
Get Free Scanner and check your computer for errors
Fix It NowTo fix found issues, you have to purchase the full version of Combo Cleaner. Free trial available. Combo Cleaner is owned and operated by Rcs Lt, the parent company of PCRisk.com read more.
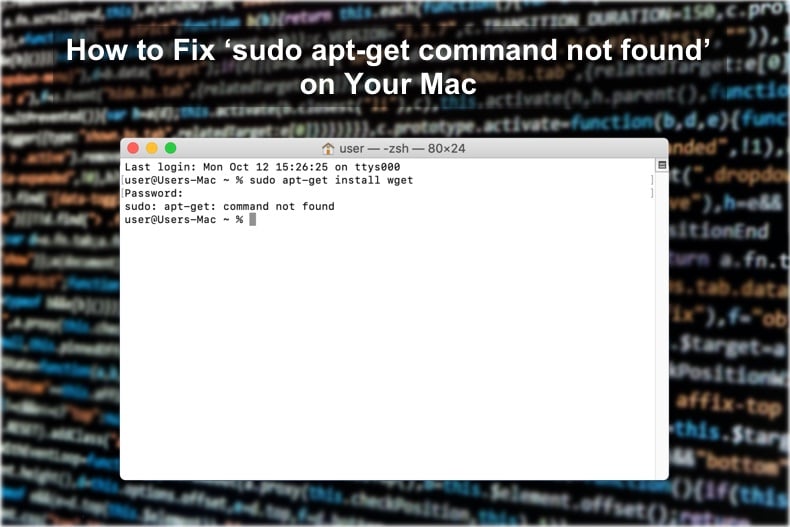
How to Fix ‘sudo apt-get command not found’ on Your Mac
The command 'sudo apt-get' is used for installing, upgrading, or removing software packages. While executing this command in the Terminal window, you have probably encountered the line 'sudo apt-get command not found.' That means the command 'apt-get' is not accessible on macOS, as it's only specific to some varieties of Linux. Fortunately, macOS has a few alternatives that work the same as the APT. You can choose between Homebrew and MacPorts.
The difference between both systems is that Homebrew does not require 'sudo' to modify the system-wide software directory, while MacPorts do. Command 'sudo' allows you to run programs with the security privileges as the superuser. It will ask for your user password and will confirm your request to execute a command.
Suppose you prefer not to use the command 'sudo' when installing packages. In that case, it's recommended not to use a system-wide directory as it won't protect your computer from being used as a tool for exploitation. The right to install, remove, or change any software should only be available for a user with root privileges as a safety measurement.
Video on How to Fix ‘sudo apt-get command not found’ on Your Mac
Table of Contents:
- Introduction
- Method 1. Install Homebrew
- Method 2. Install MacPorts
- Video on How to Fix ‘sudo apt-get command not found’ on Your Mac
Download Computer Malware Repair Tool
It is recommended to run a free scan with Combo Cleaner - a tool to detect viruses and malware on your device. You will need to purchase the full version to remove infections. Free trial available. Combo Cleaner is owned and operated by Rcs Lt, the parent company of PCRisk.com read more.
Install Homebrew
As was mention above, Homebrew doesn't use sudo. Instead, they use a macOS sandbox that limits the damage done by a hijacked app. Each application gets its area, a "sandbox." For the app to go out of the sandbox, it needs to ask for permission from the operating system. Sandbox won't prevent attacks against your application, but it will minimize the damage.
How to install Homebrew:
1. Press the Command and the Space key on your keyboard to open Spotlight.
2. Type in "App Store" and press Enter to open it.

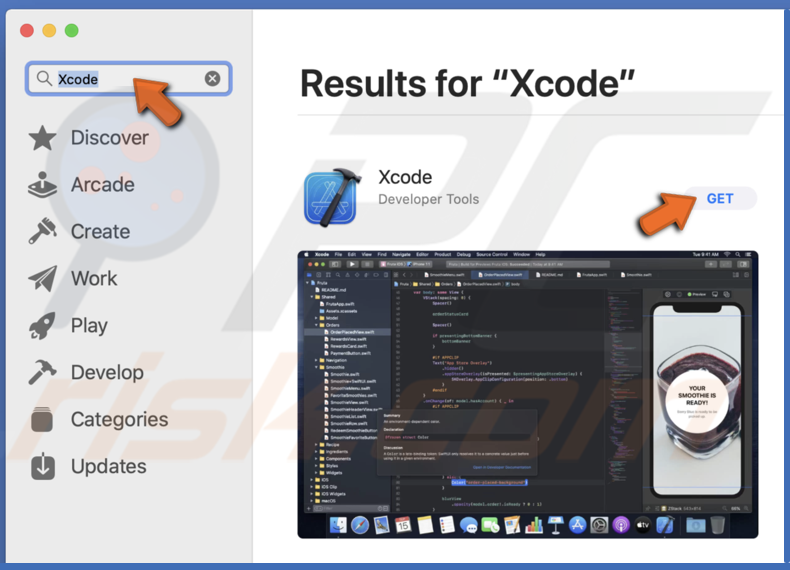
3. In the App Store, search for Xcode.
4. Click on "Get" and install the Xcode. The installation will take some time because it is around 11GB.
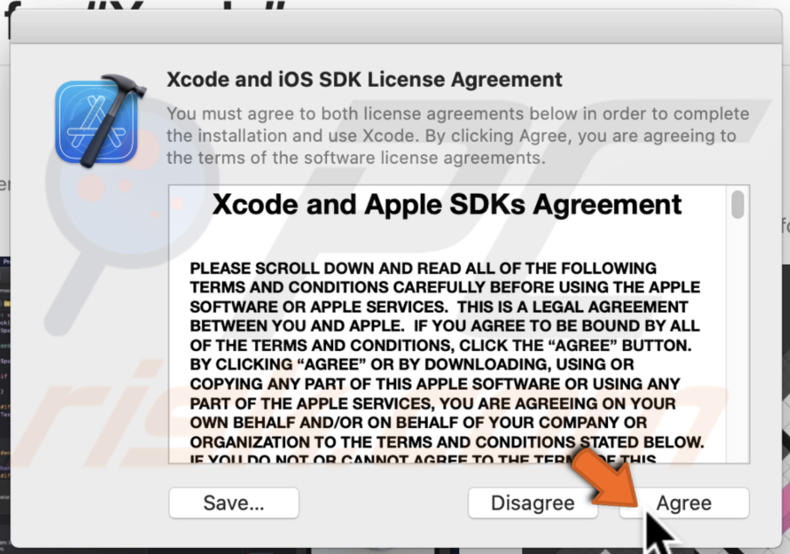
5. After the download is complete, click on "Open" and agree to the License Agreement.
6. Follow the installation process.
7. After installing Xcode, press the Command and the Space key on your keyboard to open Spotlight.
8. Type in "Terminal" and press Enter to open it.
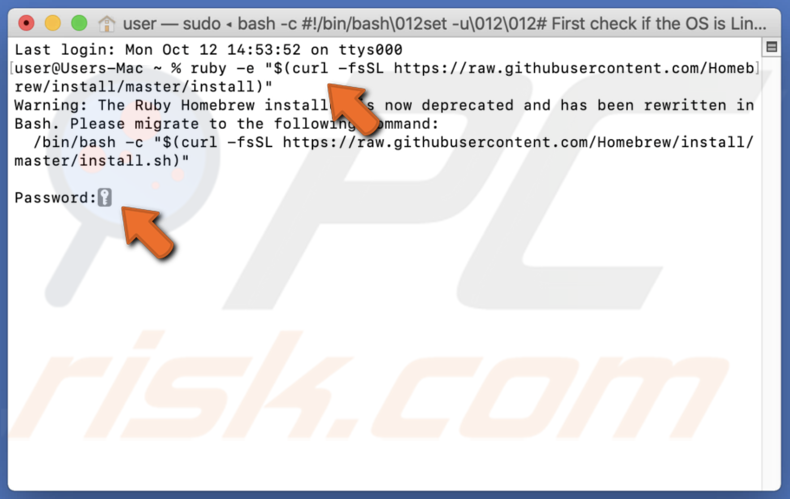
9. To install Homebrew on your Mac in the Terminal window, enter the command line: ruby -e "$(curl -fsSL https://raw.githubusercontent.com/Homebrew/install/master/install)"
10. You’ll be asked to enter your Mac passwords. The password is not shown in the terminal window.
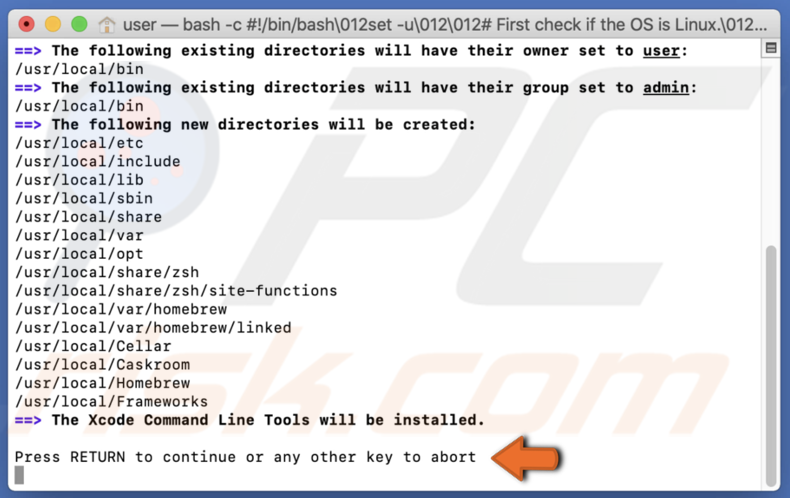
11. The installation will ask you to press the Return (Enter) button to continue the installation.
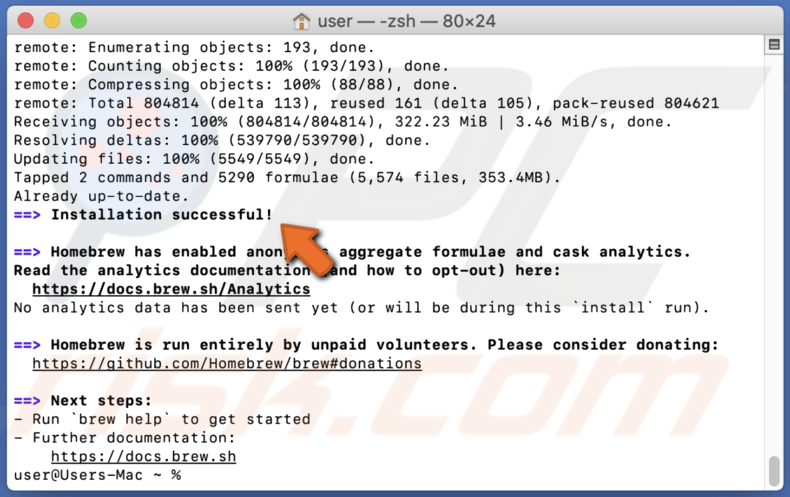
11. You'll get the 'installation successful' message in the Terminal window after the installation is done.
To use Homebrew and install any package you want, enter brew and your install name: brew install name.
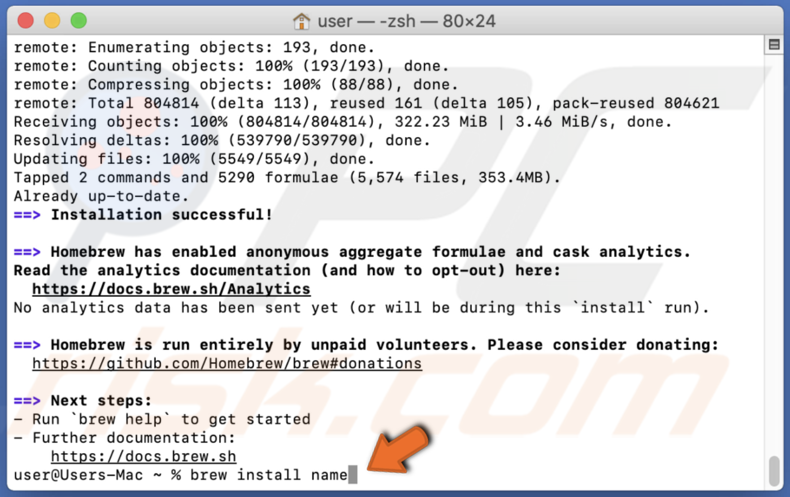
The brew command will then install the package on your macOS.
Install MacPorts
MacPorts is a great way to compile, install, and manage open-source software. Before installing any program with MacPorts, you need to use the command 'sudo'. Without it, you won't be able to manage your applications, as you will need to confirm that you're the system's superuser.
How to install MacPorts:
1. Press the Command and the Space key on your keyboard to open Spotlight.
2. Type in "App Store" and press Enter to open it.
3. In the App Store, search for Xcode.
4. Click on "Get" and install the Xcode. The installation will take some time because it is around 11GB.
5. After the download is complete, click on "Open" and agree to the License Agreement.
6. Follow the installation process.
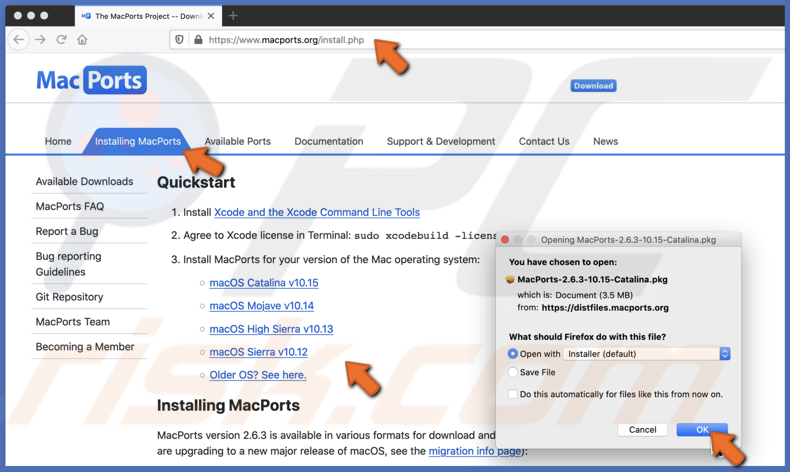
7. Download MacPorts for your operating system on their website.
8. Open the download file and install the software by following the installation steps.
9. When the installation is complete, press the Command and the Space key on your keyboard to open Spotlight.
10. Type in "Terminal" and press Enter to open it.
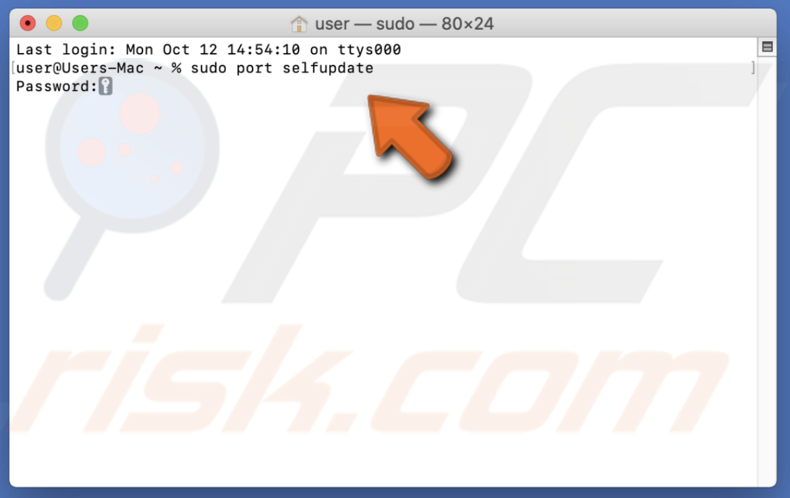
11. In the Terminal window, enter the following command: sudo port selfupdate
12. Enter your Mac password. The password is not shown in the terminal window.
If you see the message 'Updating MacPorts base source using rsync', it means that MacPorts was successfully installed. If you don't see this message, it means you installed it incorrectly.
To install a package, you need to use the command sudo port and insert the install name: sudo port install name.
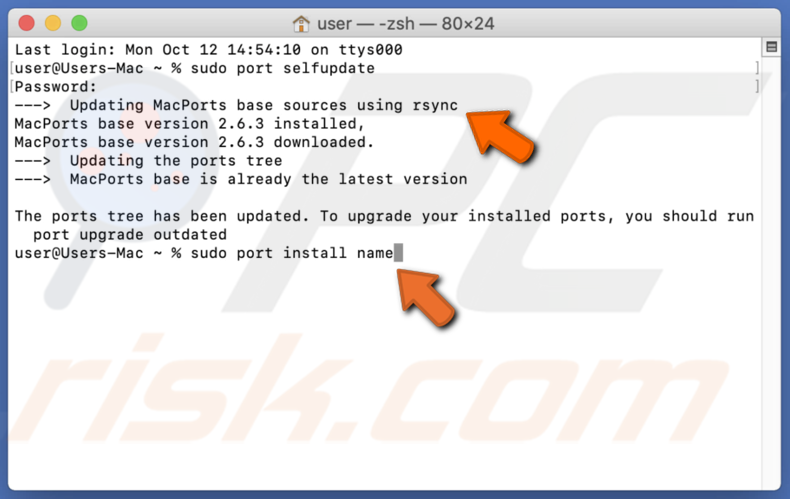
The install name can be the package name that you want to install.
Share:

Karolina Peistariene
Author of how-to guides for Mac users
Responsible for collecting, analyzing, and presenting problem-solving solution articles related to macOS issues. Years of macOS experience combined with solid research and analyzing skills help Karolina provide readers with working and helpful solutions as well as introduce various features Mac has to offer.
▼ Show Discussion