How to Fix Error Code -43 on Mac

(updated)
Get Free Scanner and check your computer for errors
Fix It NowTo fix found issues, you have to purchase the full version of Combo Cleaner. Free trial available. Combo Cleaner is owned and operated by Rcs Lt, the parent company of PCRisk.com read more.
Fix Error Code -43 When Relocating/Deleting Files On Mac
Sometimes error code 43, associated with file transfer issues on Mac devices, will pop up. This error code may occur when you delete a file, move it to the Trash, move files from one folder to another, or transfer files from or to a USB drive. It can also be related to incompatible file name characters. The best way to avoid error 43 would be to rename your files and avoid symbols in general.
The same error will occur if the file has not been downloaded fully. The most common cause of partial download is the loss of internet connection. Another reason can be an incomplete source file. There is also a chance of a timeout. It can also be the cause of the file being used by one or more system applications. Open Terminal and type "loss | green -i [files name]". This will show a list of all open files and the processes that opened them.
Bellow, you'll find troubleshooting steps that will help you eliminate Mac error code 43.
Video on How to Fix Error Code -43 on macOS
Table of Contents:
- Introduction
- Method 1. Force Quit Finder
- Method 2. PRAM Or NVRAM Reset
- Method 3. Locked Files Removal
- Method 4. Using Terminal Commands
- Method 5. Disk Utility Check
- Video on How to Fix Error Code -43 on macOS
Download Computer Malware Repair Tool
It is recommended to run a free scan with Combo Cleaner - a tool to detect viruses and malware on your device. You will need to purchase the full version to remove infections. Free trial available. Combo Cleaner is owned and operated by Rcs Lt, the parent company of PCRisk.com read more.
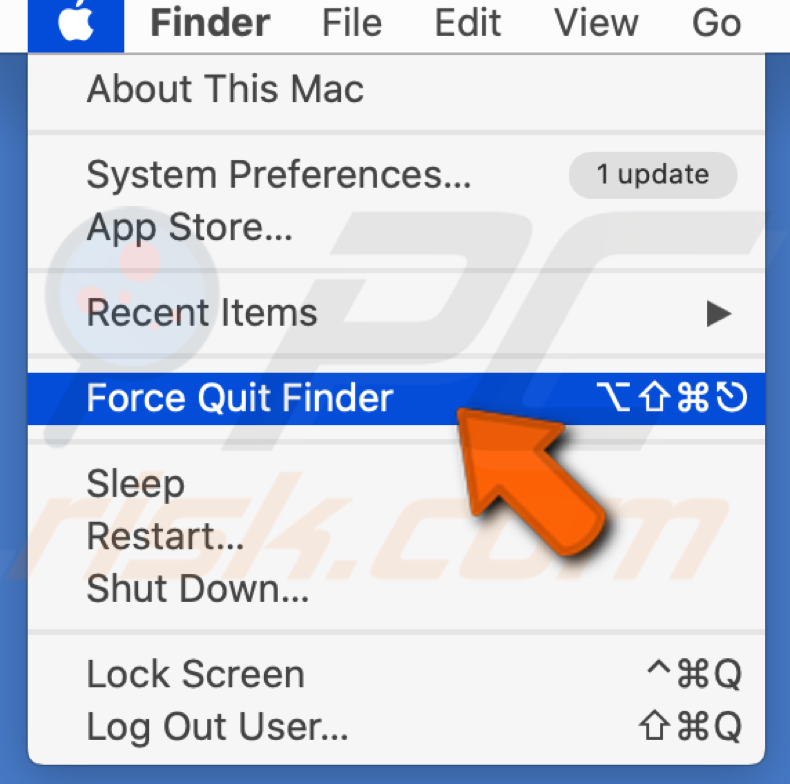
Force Quit Finder
Some users have reported Error Code -43 was easily fixed by force quitting and relaunching the Finder.
1. Go to the Apple menu at the top left part of your screen.
2. Click on "Force Quit".
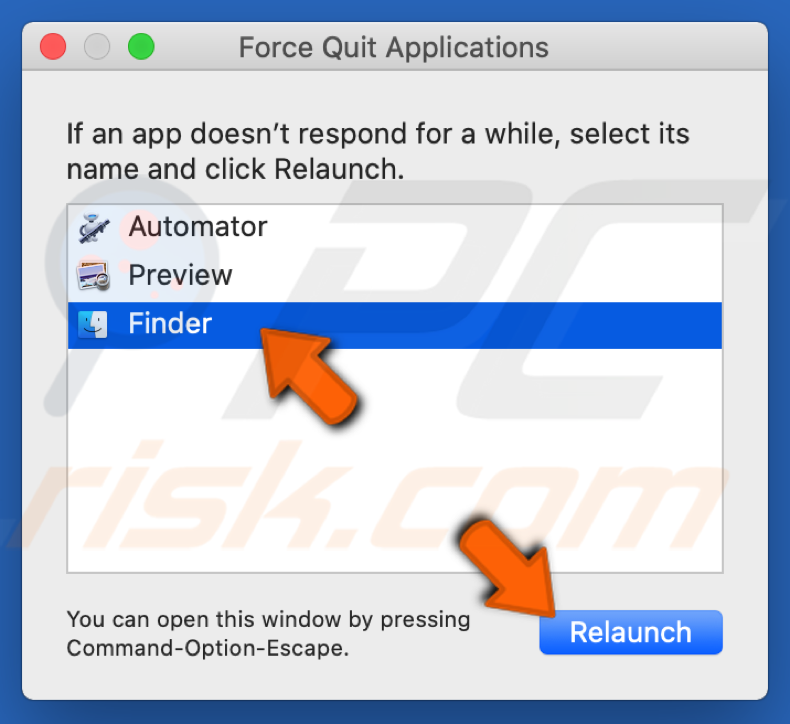
3. FindFinderin the list of applications.
4. Choose "Relaunch".
PRAM Or NVRAM Reset.
NVRAM (Nonvolatile Random Access Memory) is your Mac's small memory to store specific settings and access them quickly. PRAM (Parameter Random Access Memory) stores similar information, and the steps for resetting NVRAM and PRAM are the same.
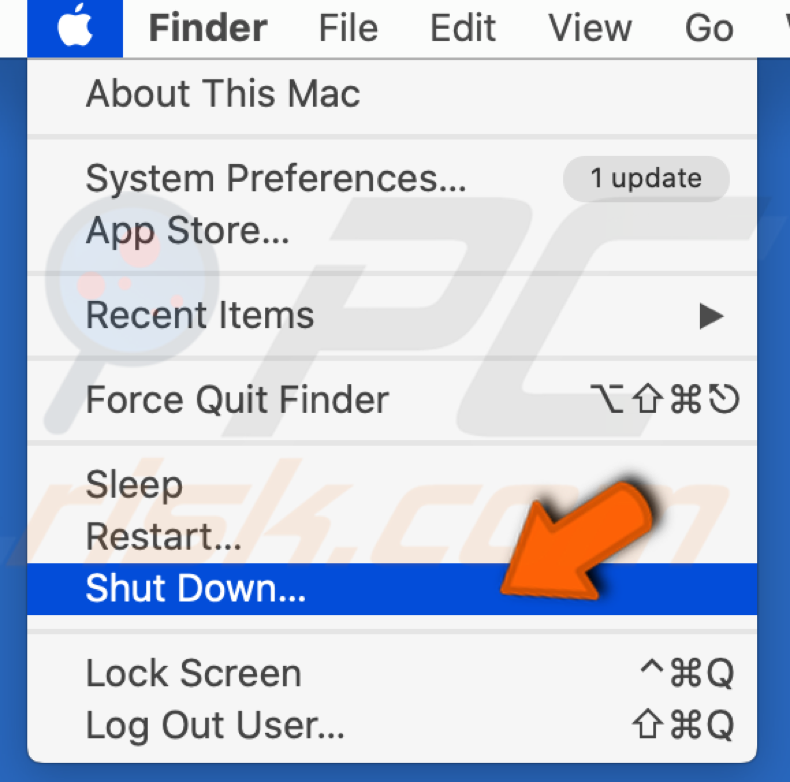
1. Shut down your Mac. Before turning it back on, locate the following four keys on your keyboard: Command + Option + P + R.
2. Turn on your Mac, and as soon as it starts to boot, press all four keys simultaneously.
3. Hold the keys until you hear the startup sound two times and only then release the keys.
Note: If you do not hear a startup sound in step 3, repeat all the steps.
Locked Files Removal
If the files are locked, you can delete them without unlocking them first.
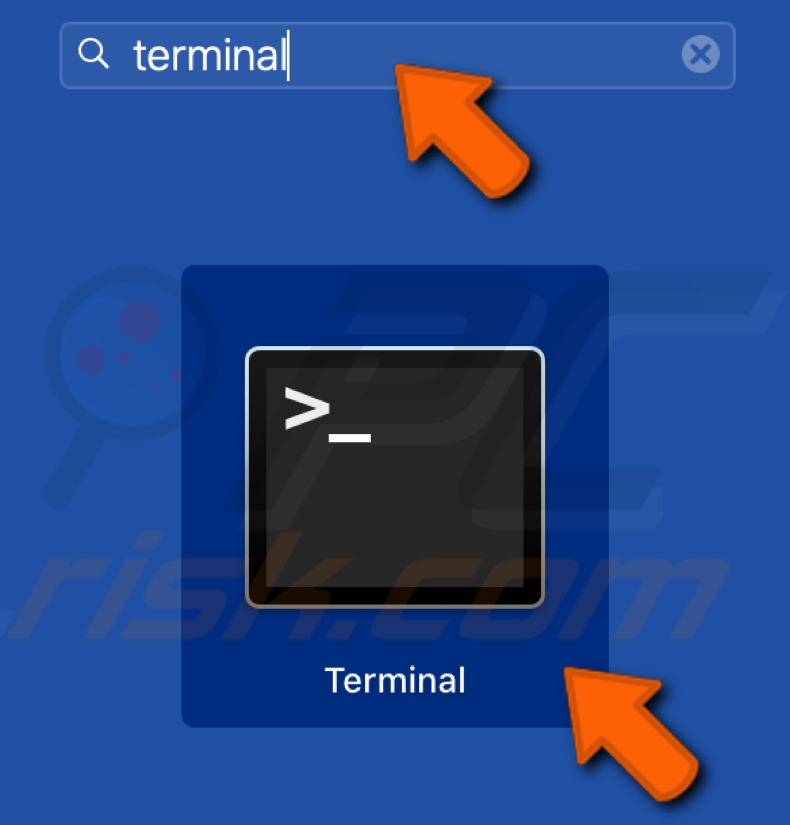
1. Open Terminal from your Launchpad.
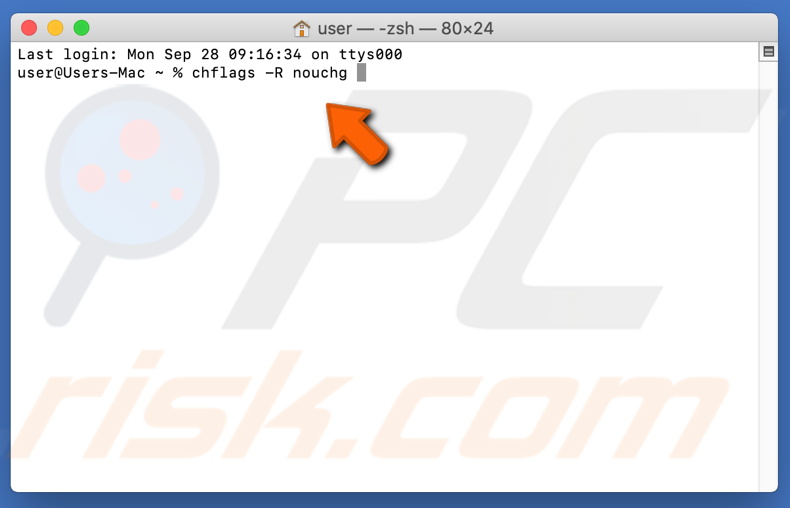
2. In the Terminal, type the following command: chflags -R nouchg (space)
3. Click on the Trash icon to open it.
4. in Trash, press Command + A key simultaneously to select all items.
5. Drag locked items to the Terminal window.

6. Click on Enter.
7. Delete locked files from Trash.
Using Terminal Commands
In some instances, the error can be removed by implementing some commands from the Terminal and deleting specific files.
1. Open Terminal.
2. Type in the following command: rm (space).
3. Drag and drop the files, which gives error 43.

4. Press Enter, and the files will be deleted.
5. Check to see if the issue continues.
Note: If this does not work, try to reinstall the High Sierra Update.
Disk Utility Check
Your Mac's built-in Disk Utility is a great tool that will spot missing or corrupt files triggered by an HDD/SSD problem.
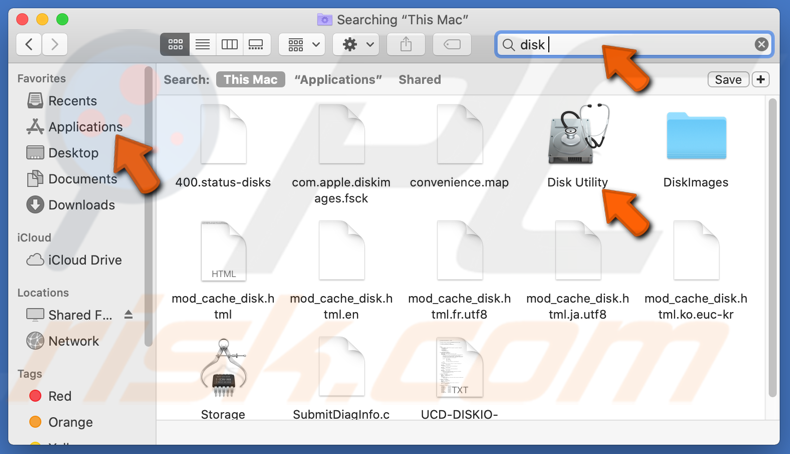
1. After your Mac restarts, go to Finder and click on Applications.
2. Then find and select "Disk Utility".
3. Select the disk (disk where the file you want to move is present) you wish to repair.
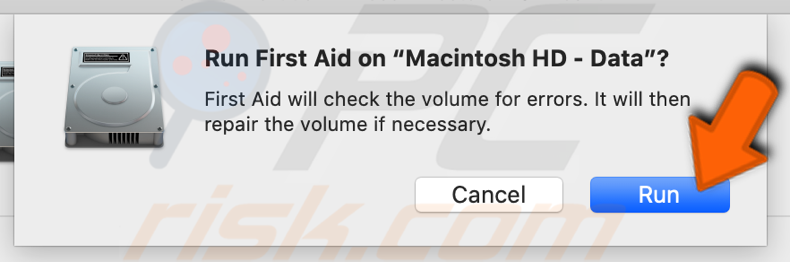
4. Press "First-Aid".
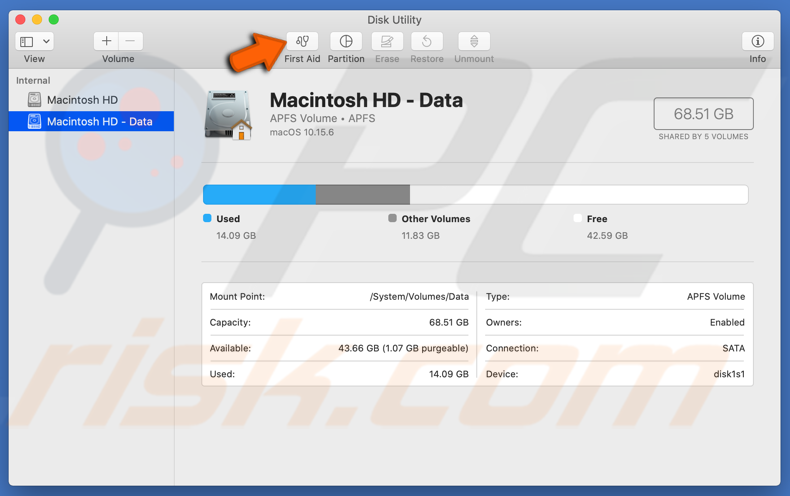
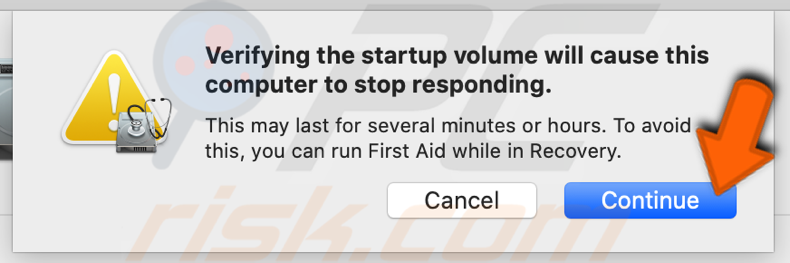
5. Click on "Run" and then on "Continue".
If the reports show that your disk is about to fail, back up your files and replace your hard disk with a new one.
Click on Run. If the Disk Utility tool shows no problems with your drive or that the existing issue has been solved, you can exit the tool.
If the "overlapped extent allocation" appears and states that several files occupy the same spot on your drive, one of those files is probably corrupt. You will have to locate it in the Damaged Files folder.
The worst-case scenario is that you won't be able to check or repair your disk. Try re-running the First Aid tool if the "The underlying task reported failure" error message appears. If the error message continues to appear, backup your data and format your disk.
Share:

Karolina Peistariene
Author of how-to guides for Mac users
Responsible for collecting, analyzing, and presenting problem-solving solution articles related to macOS issues. Years of macOS experience combined with solid research and analyzing skills help Karolina provide readers with working and helpful solutions as well as introduce various features Mac has to offer.
▼ Show Discussion