How to Check Hard Drive Health on Mac?

(updated)
Get Free Scanner and check your computer for errors
Fix It NowTo fix found issues, you have to purchase the full version of Combo Cleaner. Free trial available. Combo Cleaner is owned and operated by Rcs Lt, the parent company of PCRisk.com read more.
How to Check Your Mac's Hard Drive Health Status?
Internal storage is one of the most essential components of any computer. This is where the operating system and all software reside. Therefore, any crashes on the hard disk (HDD) or flash drive (SSD) might lead to a Mac failure or, even worse, data loss. Periodically checking the hard drive's health status is a good precaution against data loss or unexpected software crashes.
Before data loss or problems accessing the Mac, you should be able to detect the warning signs of drive failures: random freezes when attempting to move files, errors stating that permissions are denied when trying to access files or data (which previously were accessed regularly without problems).
There might also be several other random or erratic issues relating to hard drive failure. Fortunately, Apple has included a built-in tool that can check and repair minor damage to storage. This method works on both internal and external storage (hard disk drive or flash drive). Furthermore, you can repair the startup disk by using the file system check function.
This article describes the methods available to check the drive health status and repair bad sectors and other issues.
Video showing How to Check Mac Hard Drive Health Status?
Table of Contents:
- Introduction
- Check your hard drive's health via Disk Utility
- Repair startup disk via macOS Recovery mode
- Use Single User Mode to repair hard drive
- Video showing How to Check Mac Hard Drive Health Status?
Download Computer Malware Repair Tool
It is recommended to run a free scan with Combo Cleaner - a tool to detect viruses and malware on your device. You will need to purchase the full version to remove infections. Free trial available. Combo Cleaner is owned and operated by Rcs Lt, the parent company of PCRisk.com read more.
Check hard drive health via Disk Utility
As mentioned above, do not wait until you encounter erratic issues before checking the current status of the hard drive. To prevent any data loss or performance problems, periodically inspect the drive. This is quite simple using a built-in tool relating to the hard drive called Disk Utility.
1. Use Spotlight by pressing the keyboard shortcut of Command and Spacebar, and then type Disk Utility. Alternatively, go to the Utilities folder under Application via Finder.
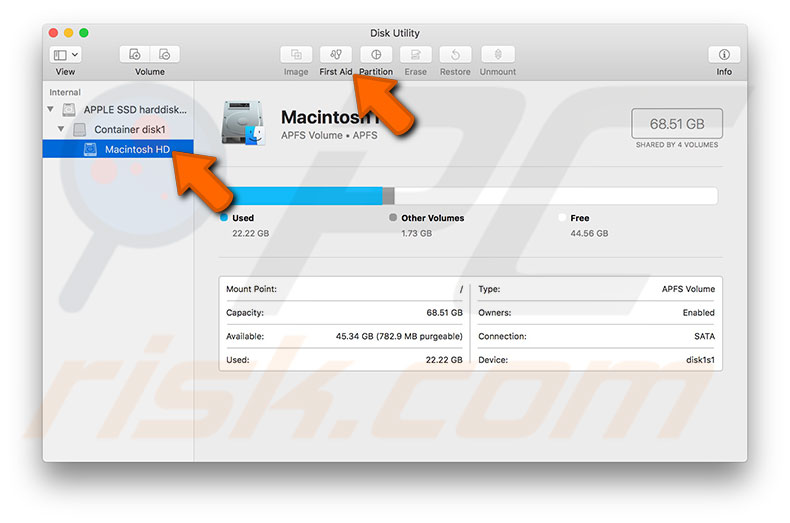
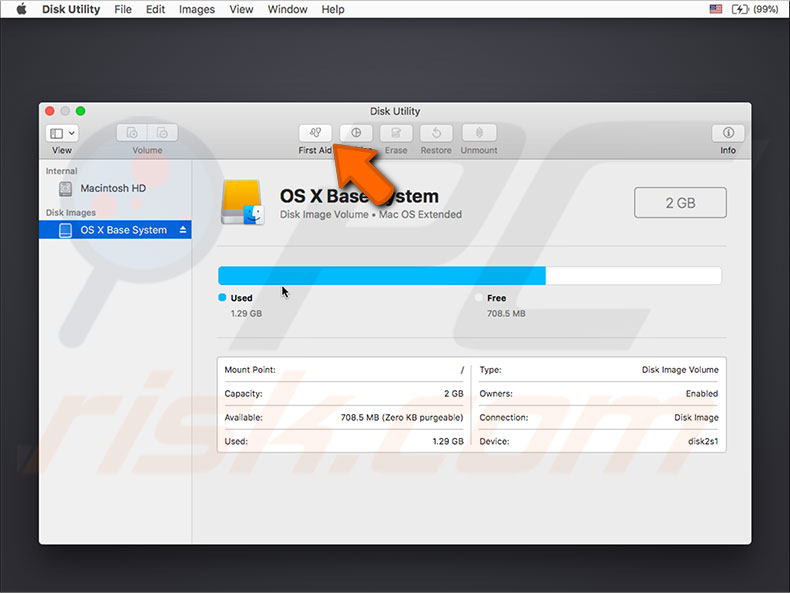
2. Once you have launched the application, select one of the connected drives from the list in the left-hand sidebar.
3. Click the First Aid button in the top middle of the window.
4. You will be prompted to confirm your action. Click Run.
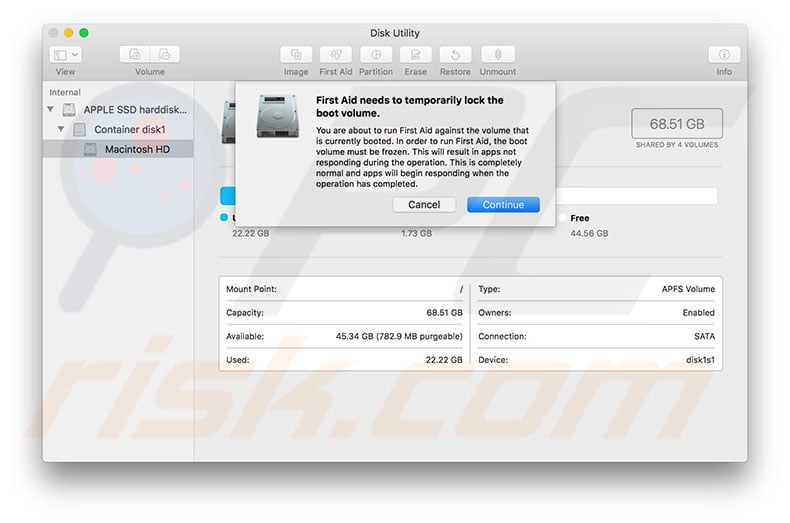
5. If you are trying to check the status of a startup disk, another warning will pop up, stating that you are trying to verify a booted drive. To perform a complete check, the operating system will be frozen. If you are not performing any important, active tasks, click Run. All software will regain its full functionality immediately after the verification process finishes.
6. When the First Aid function completes, the resultant message will state that the hard drive is OK. Otherwise, click Repair disk (if suggested) or try repeating the First Aid procedure until the result indicates that the hard drive is OK.
Disk Utility is sometimes unable to repair a booted drive - in this case, follow the following method.
Repair startup disk via macOS Recovery mode
If you have encountered a situation where Disk Utility cannot repair the hard drive when booted, there is another way to access the tool without loading the Mac. You are advised to first create a backup of the storage. The easiest way to do this is by using Time Machine.
1. When you have prepared a backup, shut down the Mac and press and hold Option (Alt), Command, and R while starting the computer.
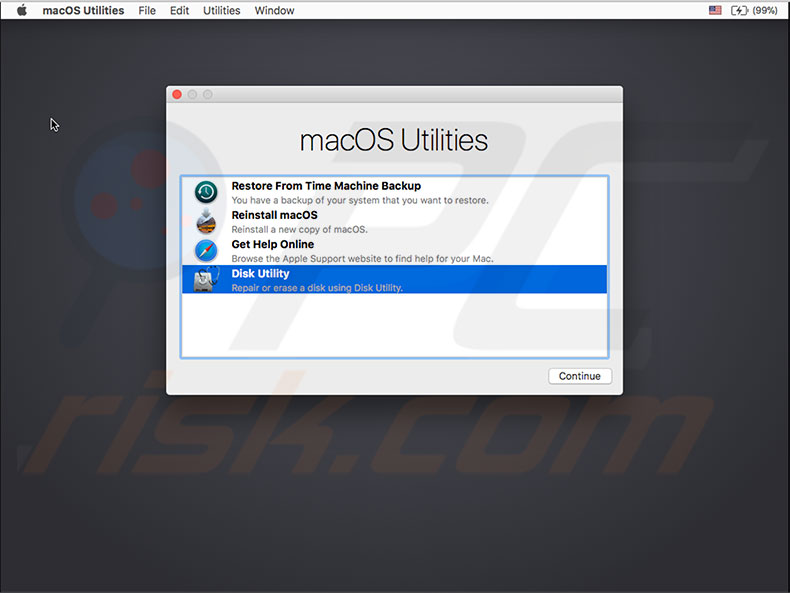
2. Keep holding the keys until the Apple logo or spinning globe appears. From the macOS Utilities window, select Disk Utility.
3. Repeat the procedure to check the hard drive - select one of the connected drives from the list in the left-hand sidebar.
4. Next, click the First Aid button in the top middle of the window.
5. You will be prompted to confirm your action. Click Run.
6. Finally, click Repair disk if prompted and attempt to automatically repair the hard drive.
Checking hard drive health status is good prevention against unexpected issues and data loss. However, also maintain regular backups since hard drive failures can sometimes occur without any warning signs.
Use Single User Mode to repair hard drive
The most efficient method might be to boot the Mac into Single User Mode and use the fsck command - a shortcut to launch the file system check feature.
1. First, create a backup and then shut down your computer.
2. To access this mode, press and hold Command and S immediately after hearing the startup chime.
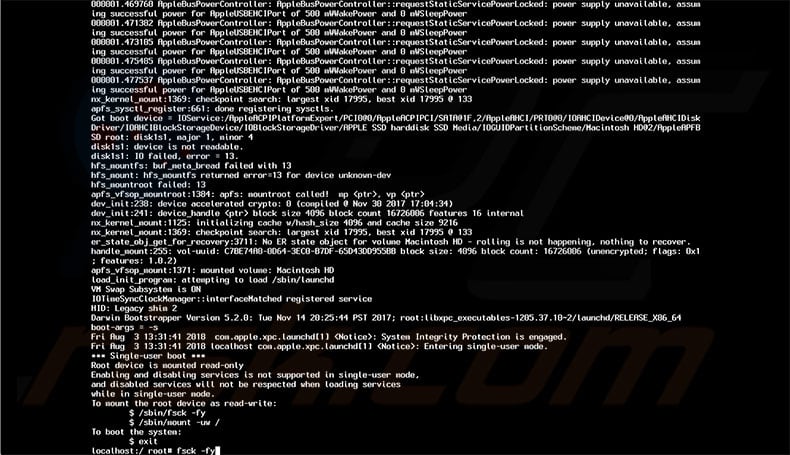
3. In Single User Mode, you should see a lot of white text on a black display. Be patient since this boot might take some time. Once booting is finished, each new line will be prepended with "localhost//". Type the following command and press Return to execute:
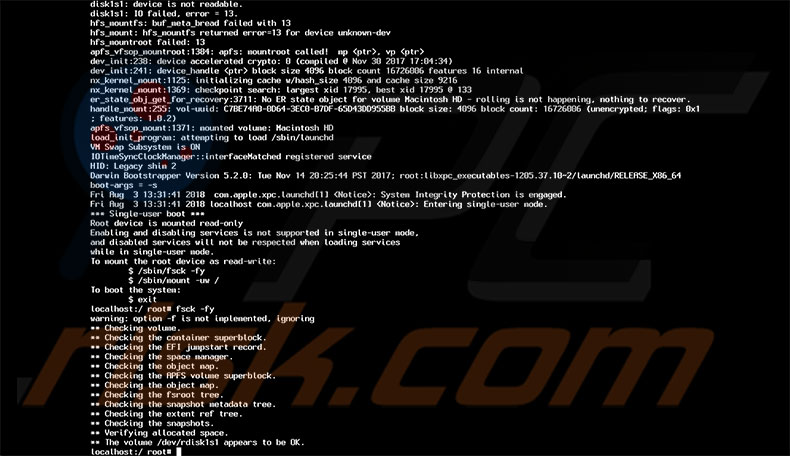
fsck -fy
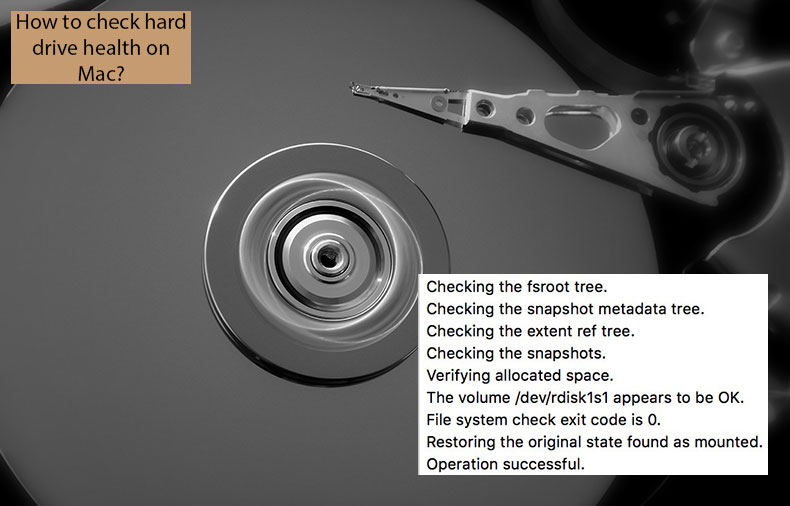
4. When the checking process is finished, look for a message stating 'The volume appears to be OK' in the results. Otherwise, repeat the system check until you receive this message.
5. Finally, type reboot and press Return to exit Single User Mode.
6. When the computer is completely booted, launch disk check via Disk Utility again to ensure everything is working correctly.
If none of these steps resolved the hard drive issues, contact Apple Store or a licensed technician.
Share:

Karolina Peistariene
Author of how-to guides for Mac users
Responsible for collecting, analyzing, and presenting problem-solving solution articles related to macOS issues. Years of macOS experience combined with solid research and analyzing skills help Karolina provide readers with working and helpful solutions as well as introduce various features Mac has to offer.
▼ Show Discussion