How to Reveal Hidden Files on Mac?

(updated)
Get Free Scanner and check your computer for errors
Fix It NowTo fix found issues, you have to purchase the full version of Combo Cleaner. Free trial available. Combo Cleaner is owned and operated by Rcs Lt, the parent company of PCRisk.com read more.
Enable Temporary and Permanent Hidden Files Showing on Mac Computers
The Mac computer operating system hides many files such as system-level items, configuration data, and other files, most of which are stored within the system library folder. Apple decided that these files should not be visible for all users due to possible issues if the data was modified without proper knowledge. If you have downloaded a file with a name that contains a dot (.), you may not find it since it will be recognized as a 'hidden' file.
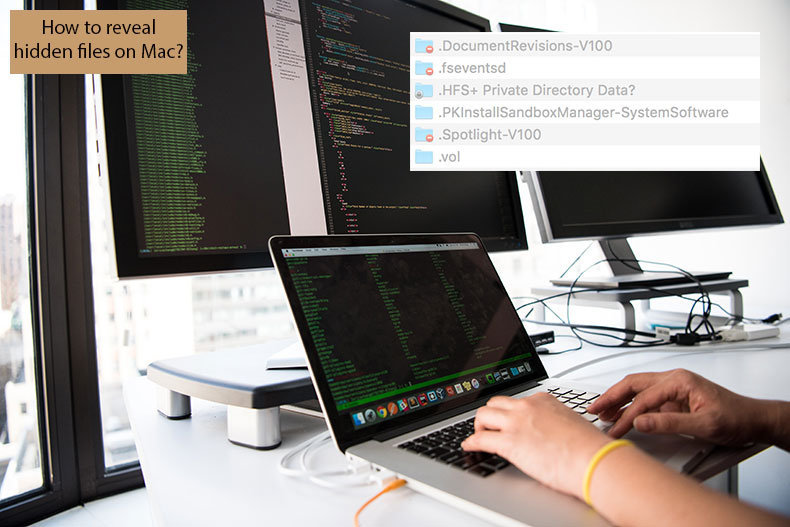
There may be cases when you need to access hidden data to solve certain issues. Additionally, adding a dot (.) at the beginning of a filename is an easy way to hide files within your computer. Fortunately, Apple has attached a keyboard shortcut to modern versions of the operating system. This hides or reveals files within specific folders.
Furthermore, there are several methods to control the visibility of hidden data permanently for all folders on your Mac computer. This article describes how to reveal hidden data within one folder or the entire storage, including both temporary and permanent methods.
Video Showing how to reveal hidden files on Mac
Table of Contents:
- Introduction
- Reveal hidden files on macOS by using a keyboard shortcut
- Enable hidden files showing on all versions of the Mac operating system
- Enable hidden files showing temporarily
- Video Showing how to reveal hidden files on Mac
Download Computer Malware Repair Tool
It is recommended to run a free scan with Combo Cleaner - a tool to detect viruses and malware on your device. You will need to purchase the full version to remove infections. Free trial available. Combo Cleaner is owned and operated by Rcs Lt, the parent company of PCRisk.com read more.
Reveal hidden files on macOS by using a keyboard shortcut
Together with macOS version 10.2 Sierra, Apple released a function to immediately hide or reveal hidden files.
1. To show hidden data, launch Finder and go to any folder in which you believe there are hidden files or folders. For example, the Macintosh HD root directory or user home folder.
2. Press the combination of Command, Shift, and Dot (.) to reveal the hidden data. Files and folders will immediately appear with slightly faded names and icons (separating hidden files from regular ones).
This method will impact all folders within the computer storage. However, it is only a temporary measure. On restarting the system, the data will be hidden once again.
3. To hide these files again, use the same keyboard shortcut. If you wish to reveal hidden files permanently, follow the method below.
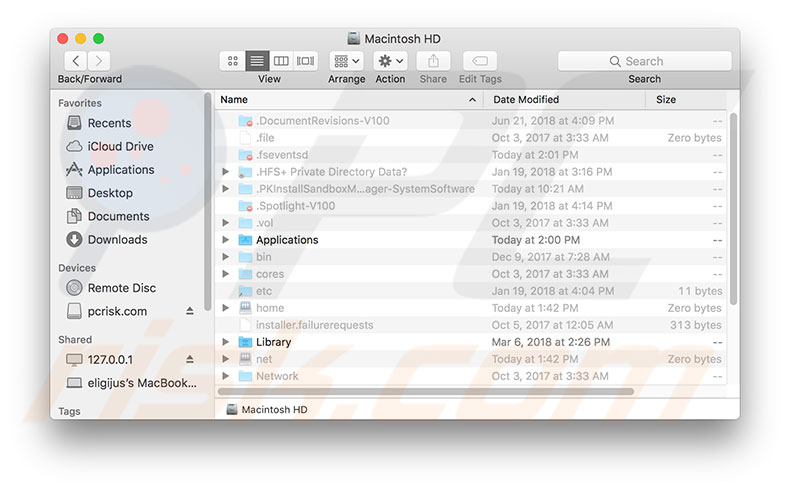
To reveal hidden files permanently on your Mac, you must change the default setting using a specific command in Mac's built-in command line window called Terminal.
1. Launch the Terminal application by invoking Spotlight, use the keyboard shortcut of Command and Space, type in Terminal, and then press Return. Alternatively, you can launch Finder and go to the Applications folder, then open Utilities folder and launch the Terminal app.
2. Once the command line window appears, type the following command.
Note: choose the correct command depending on the Mac operating system version your computer is running. To reveal hidden files permanently on macOS High Sierra 10.13, macOS Sierra 10.12, OS X El Capitan 10.11, Yosemite 10.10, and OS X Mavericks 10.9, use the following command:
defaults write com.apple.finder AppleShowAllFiles TRUE;killall Finder
To reveal hidden files on Mac OS X 10.8 Mountain Lion, OS X 10.7 Lion, Mac OS X 10.6 Snow Leopard, type the following command into Terminal and press Return.
defaults write com.apple.Finder AppleShowAllFiles TRUE;killall finder
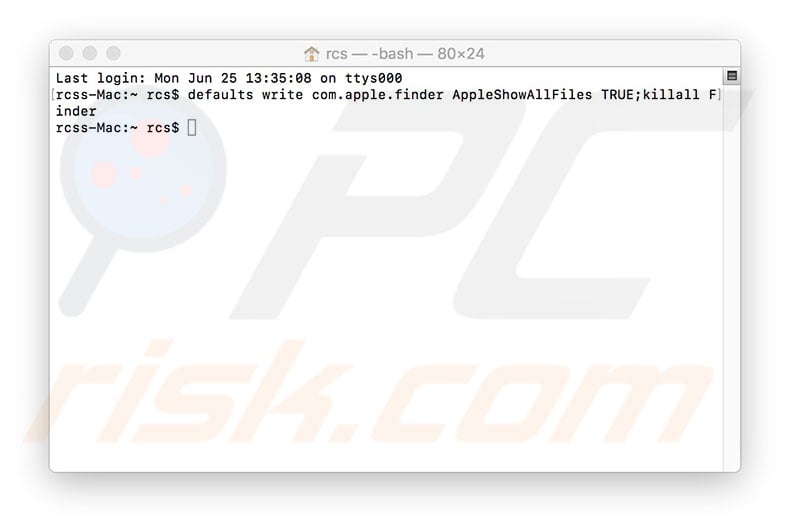
3. After executing the command, Finder will quit due to the killall command. This is necessary for the changes to take effect. Hidden files will be visible through Finder. However, they will be displayed with slightly faded names and icons to separate hidden files from regular ones. This is a permanent method - the hidden files will be displayed until preferences are overwritten.

Viewing multiple system files can be confusing. Therefore, if you do not need to modify these hidden files repeatedly, consider hiding them again. Hiding files is as simple as revealing them.
1. Launch Terminal.
2. Type the following command, and press Return to execute it to enable hidden files.
defaults write com.apple.finder AppleShowAllFiles FALSE;killall Finder
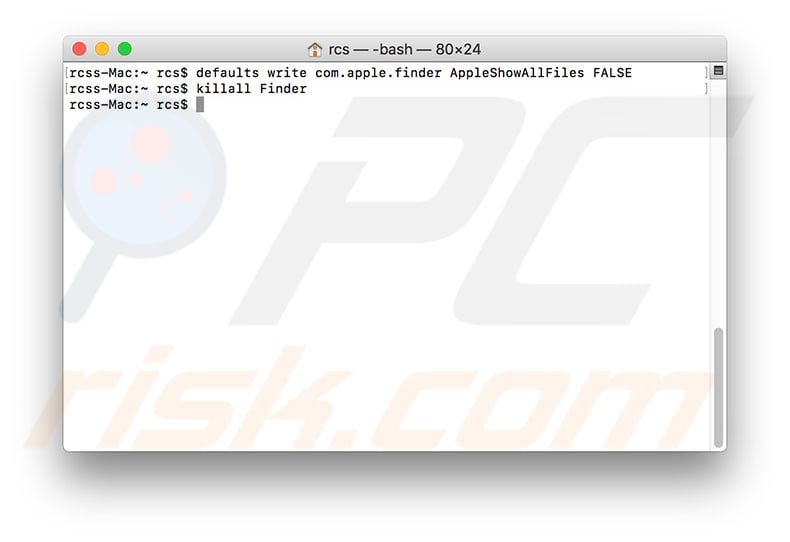
Alternatively, if this command does not work, try to execute separate commands. First, type the default write command as shown below and press Return.
defaults write com.apple.finder AppleShowAllFiles FALSE
Then, type the killall command to quit Finder completely.
kilall Finder
Using Mac's built-in command line, there are many useful functions, including 'list' and associated parameter 'all'. Executing this command with a parameter will display all files within the specified folder.
ls -a
The above is the list command assigned with the 'all' parameter. However, you need to declare a path to the directory of files you wish to reveal to use its full functionality. For example, type the command listed below to display all files and folders stored within the Desktop folder.
ls -a ~/Desktop
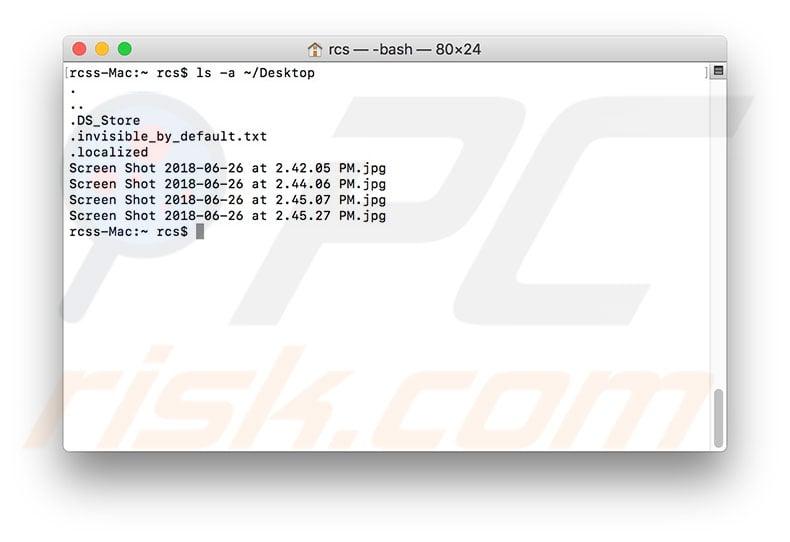
This method will not affect Finder or any other method by which you can browse your file system (hidden files will be only listed within the Terminal window). Additionally, consider using the 'open' command in Terminal to launch hidden files. An example of open command use:
open ~/Desktop/.invisible_by_default.txt
This will open the specified file with the associated application by file type. For example, if the file type is text, the TextEdit app will launch and open the specified file. In this way, you can also open hidden directories through Finder - just type the 'open' command and then the path to the directory. For example:
open ~/.invfolder
Executing this command will open the hidden folder from the user's home directory via the Finder window.
Share:

Karolina Peistariene
Author of how-to guides for Mac users
Responsible for collecting, analyzing, and presenting problem-solving solution articles related to macOS issues. Years of macOS experience combined with solid research and analyzing skills help Karolina provide readers with working and helpful solutions as well as introduce various features Mac has to offer.
▼ Show Discussion