How to Fix 'macOS High Sierra Needs to Repair Your Library' Issue?

(updated)
Get Free Scanner and check your computer for errors
Fix It NowTo fix found issues, you have to purchase the full version of Combo Cleaner. Free trial available. Combo Cleaner is owned and operated by Rcs Lt, the parent company of PCRisk.com read more.
How to Diagnose and Fix 'macOS High Sierra Needs to Repair Your Library' Error?
The latest version of any software product is likely to be the best, which is certainly true of operating systems. Mac users will attempt to install macOS High Sierra if it is supported by their device. However, the latest versions often have stability and accessibility issues in certain conditions, thus resulting in unexpected errors and bugs.
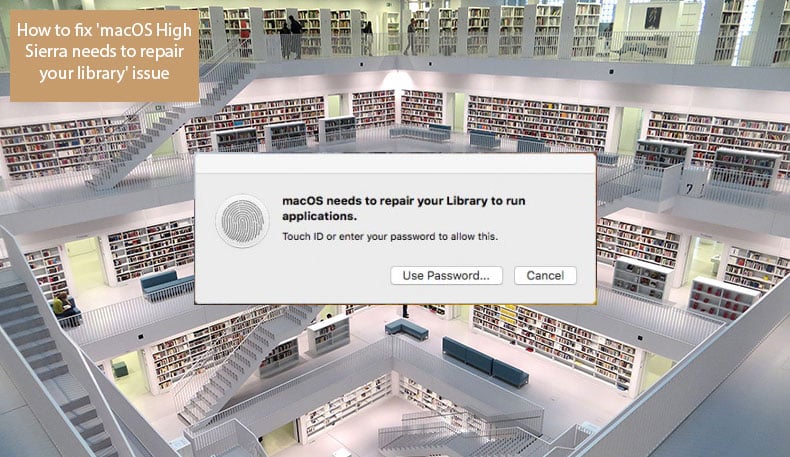
Mac users have reported issues encountered immediately after upgrading to macOS High Sierra. One of the most frequent errors is a warning message stating that OS High Sierra needs to repair the library. This particular message can pop up repeatedly, whilst others, less frequently.
The circumstances in which the message appears might also differ. For example, in some cases, it pops up when trying to launch the Photos app or just using the Mac. Here we'll learn how to diagnose and to fix the problem.
Video showing How to Fix 'macOS High Sierra Needs to Repair Your Library' Error
Table of Contents:
- Introduction
- Check your hard drive storage capacity
- Basic steps to fix High Sierra needs to repair library issue
- Additional steps to solve library repair needed problem
- Video showing How to Fix 'macOS High Sierra Needs to Repair Your Library' Error
Download Computer Malware Repair Tool
It is recommended to run a free scan with Combo Cleaner - a tool to detect viruses and malware on your device. You will need to purchase the full version to remove infections. Free trial available. Combo Cleaner is owned and operated by Rcs Lt, the parent company of PCRisk.com read more.
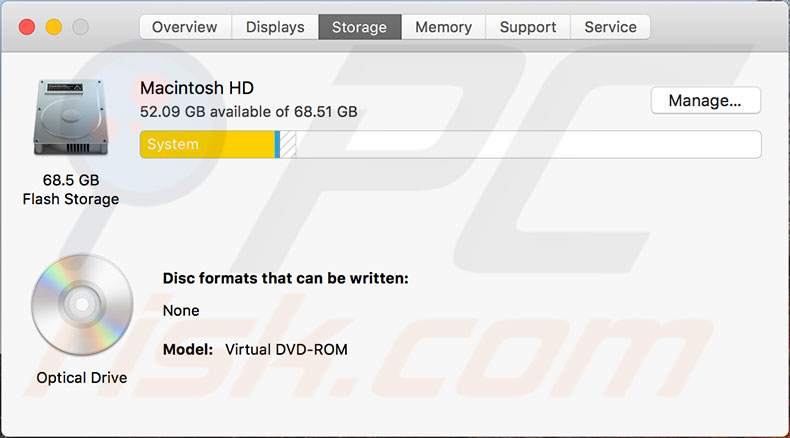
Check your hard drive storage capacity
Apple support states that High Sierra requires a minimum of 14.3 GB of free space on the hard drive to perform an upgrade. Furthermore, when the upgrade is completed, the system requires an additional 1.5 GB of space compared with macOS Sierra. Ensure your hard drive storage meets the minimum space requirements, otherwise clean old or unnecessary files.
If the High Sierra system occupies more space than the specifications above, restart the Mac and check if it has cleaned any remaining installation files.
Alternatively, to optimize the hard drive storage, we recommend using the Combo Cleaner app.
Basic steps to fix High Sierra needs to repair library issue.
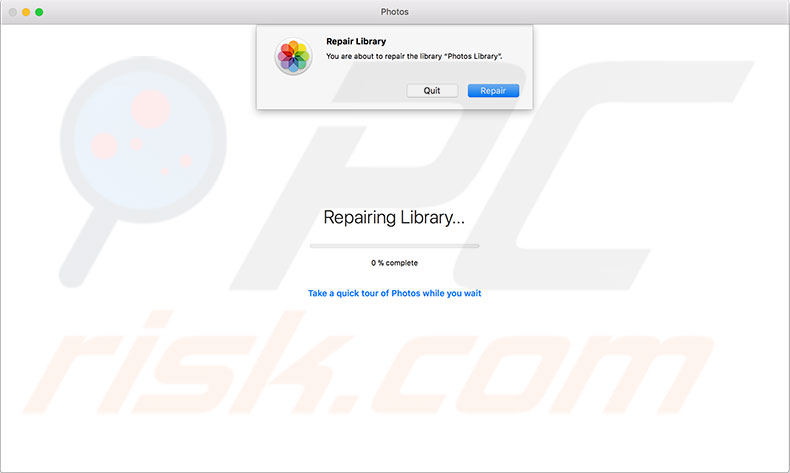
Firstly, determine whether the error message pop-ups when trying to launch a specific app or when using the Mac generally. Photo applications are the most common apps to cause errors and for repairs to be required.
1. The easiest way to solve issues with a specific app is to hold down the Option and Command keys while opening the app.
2. In a newly popped-up window, click the Repair button to launch the automatic repair process. The process might take some time but is often able to fix detected issues.
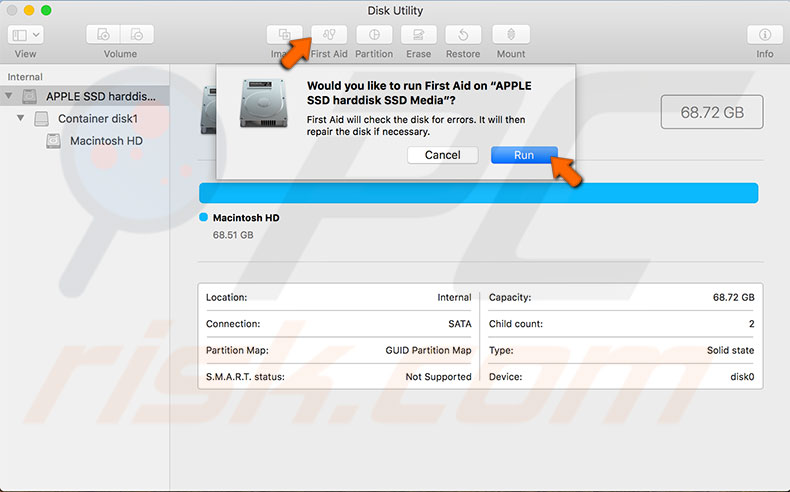
If the error pop-ups randomly and you cannot detect a specific app causing the problem, run the First Aid function of the Disk Utility.
1. To perform First Aid, open Finder.
2. Go to Applications and select Utilities.
3. Then open Disk Utility.
If you cannot access the Utility Folder:
1. Restart the computer into Recovery Mode by shutting down and pressing Command and R when starting.
2. Then select Disk Utility.
3. In Disk Utility, choose the System Drive and click First Aid to begin the process.
4. When the First Aid function has been completed, and the device is displayed as OK, restart the Mac and check if the error has disappeared. Otherwise, repeat First Aid until it displays that the drive is OK.
Additional steps to solve library repair needed problem
If the steps above did not solve the issue, try these alternative steps.
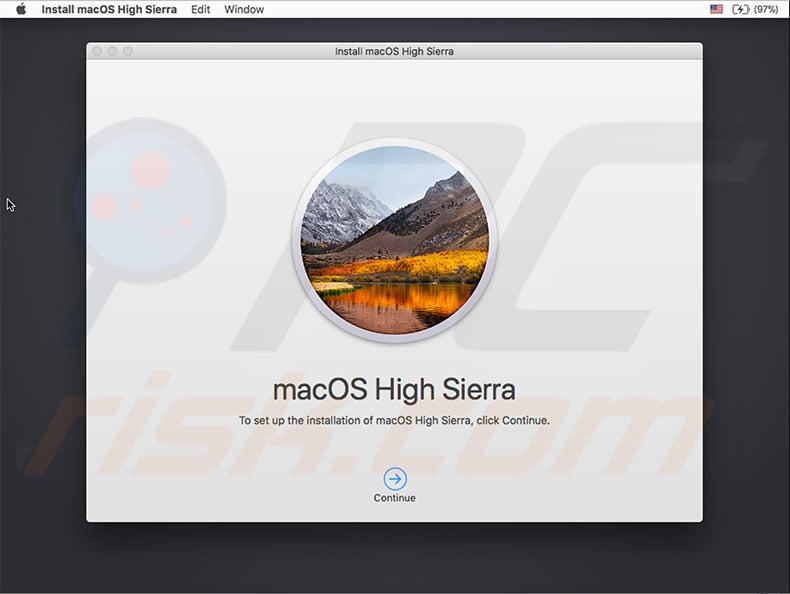
Reinstall macOS High Sierra.
1. Restart the Mac and hold the Command and R keys to enter Recovery Mode.
2. When the macOS Utility window appears, choose Reinstall macOS.
3. Select the hard drive with the default name MacintoshHD (unless you changed it during installation).
4. Click Install and follow the on-screen instructions.
For a more detailed guide, follow the step-by-step instructions on how to reinstall the macOS.
Use Recovery Mode to downgrade to macOS Sierra
If you are using Time Machine or another backup tool, you will downgrade your operating system to Sierra or even older. Remember that all files and data attached or created after the High Sierra installation will be lost, so make a copy or backup of them manually.
The best method would be to store them on an external drive or any available cloud storage such as iCloud, Dropbox, Google Drive, etc. When you are ready to downgrade the operating system, follow the steps below:
1. Enter Recovery Mode by holding Command and R while starting your computer.
2. Choose Restore from Time Machine Backup and click Continue.
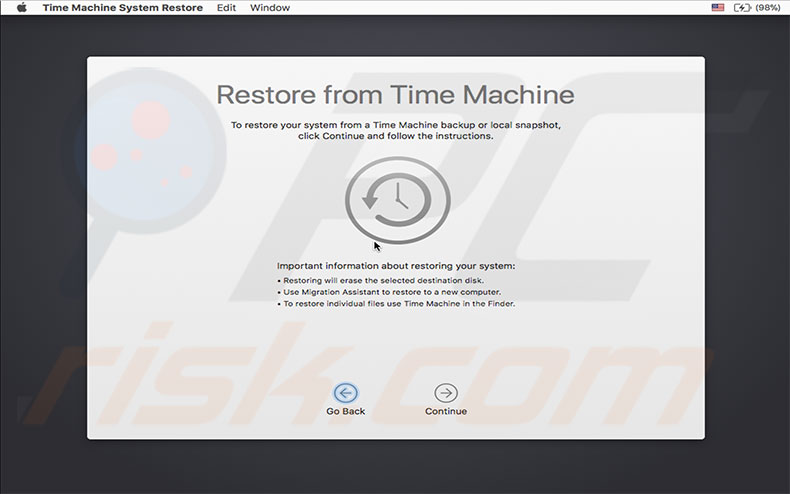
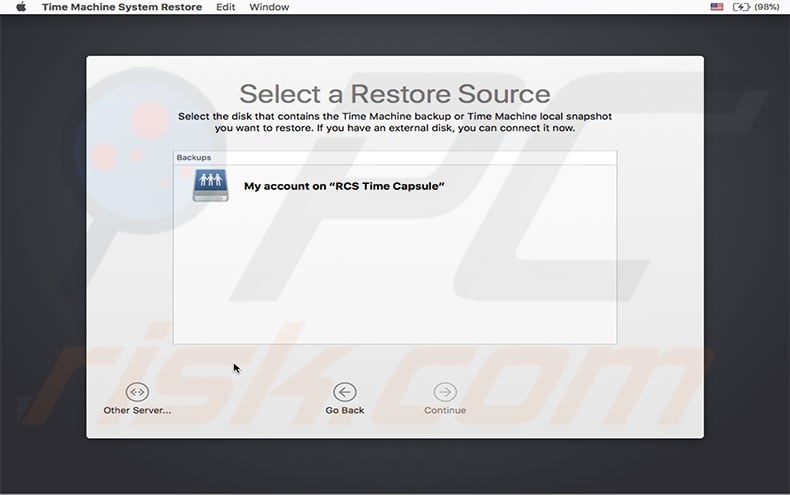
3. Follow the on-screen instructions and choose Restore Source.
4. The Mac will show all available backups - choose the last created before upgrading to High Sierra.
5. Follow the on-screen instructions to restore, but bear in mind that this process might take a lot of time!
Share:

Karolina Peistariene
Author of how-to guides for Mac users
Responsible for collecting, analyzing, and presenting problem-solving solution articles related to macOS issues. Years of macOS experience combined with solid research and analyzing skills help Karolina provide readers with working and helpful solutions as well as introduce various features Mac has to offer.
▼ Show Discussion