How to modify Windows 8 theme?
By default, Windows 8 is configured with a blue theme, nature wallpaper, and windows with wide borders - an appearance that may not satisfy all users. Fortunately, it is possible to customize the default settings to create your own theme. In this step-by-step tutorial, we describe how to configure the width and color of the windows' borders, desktop background, and how to save the preferred theme.
1. Creating your own theme.
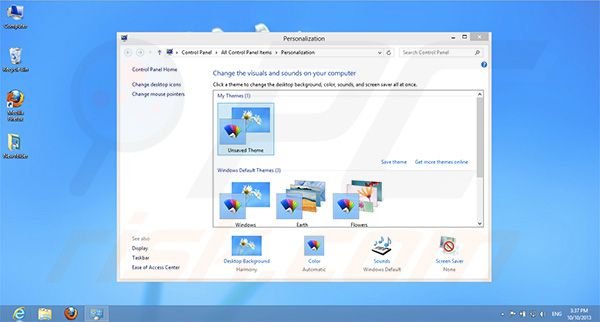
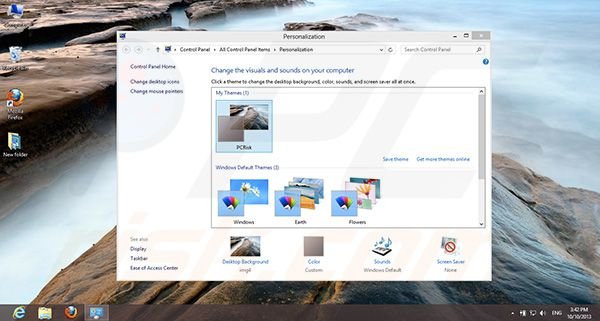
Go to the desktop and click right mouse button, then choose Personalize.
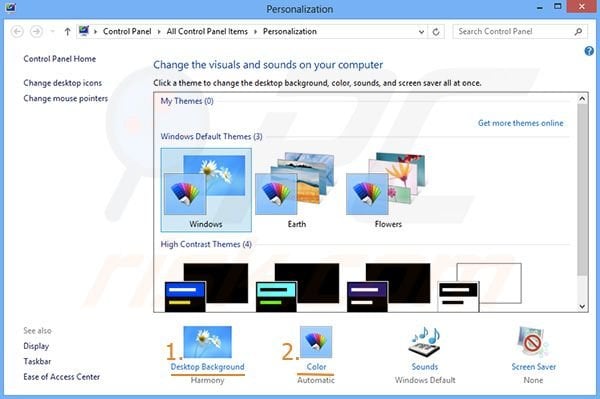 Next, click 'Desktop Background' and browse your computer for the required wallpaper. After selecting it, save the changes.
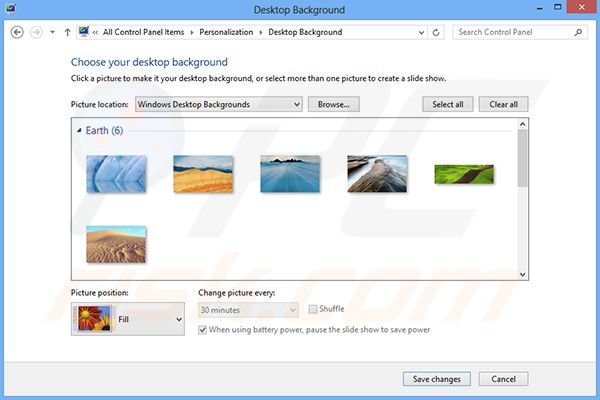
When you save the changes, you are returned to Personalization. Click on 'Color' and adjust the windows' border colors to your required taste.
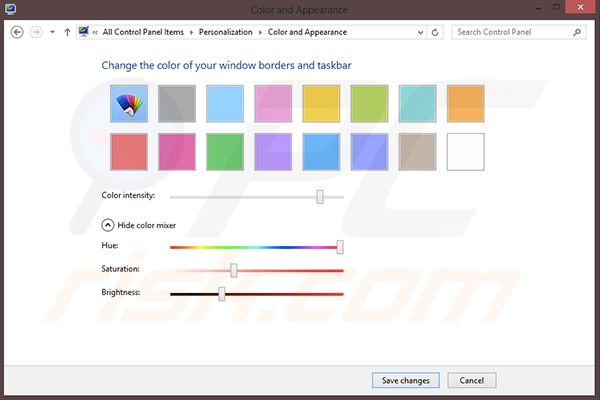
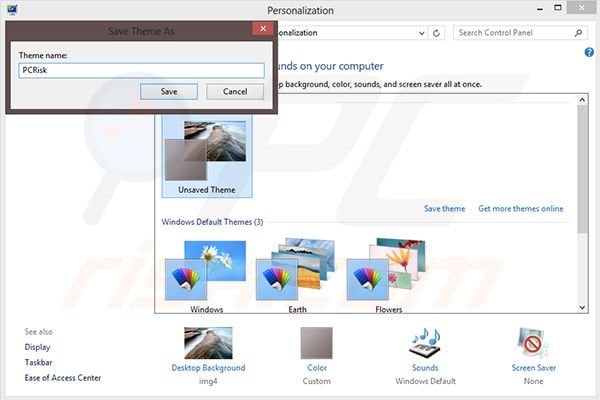
After adjusting and saving the color settings, save the entire theme. In Personalization, click 'Save theme', or simply right click on the theme and choose 'Save theme'.
2. Editing border width.
To edit the border width, go to the Start menu and type 'regedit'.

Once the search results appear, click on 'Regedit'. The Registry Editor will open. Navigate to HKEY_CURRENT_USER/Control Panel/Desktop/WindowMetrics
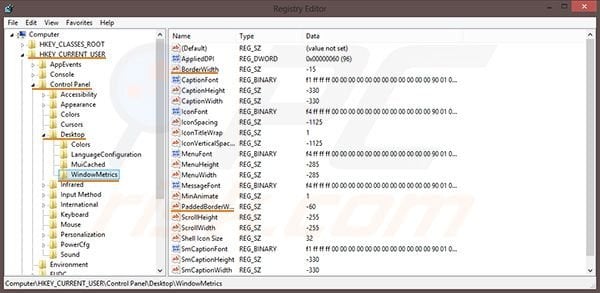
Find BorderWidth and PaddedBorderWidth. Change the value to 0 for both of them.
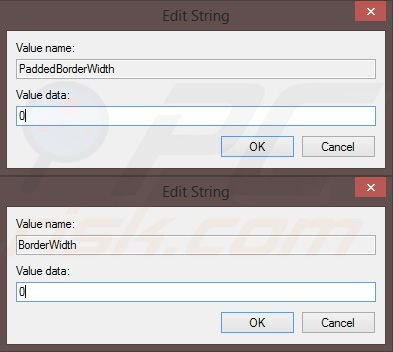
After changing the values, your settings will be saved immediately, however, you must log out and log back in with your user account in order for the changes to take effect.
Note: if you want to return to the original border settings, change the BorderWidth value to -15 and PaddedBorderValue to -60.
Borders before changing the values:
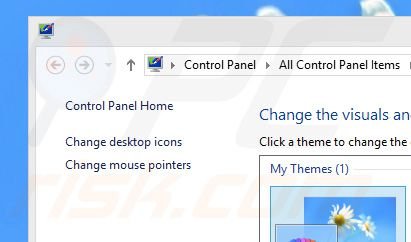
Borders after changing the values:
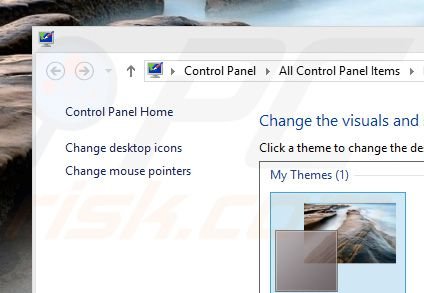
Done! This is how your Windows should look after making these changes.
Before:
After:{jcomments off}
Here is a video showing how to modify Windows 8 theme:
Share:

Tomas Meskauskas
Expert security researcher, professional malware analyst
I am passionate about computer security and technology. I have an experience of over 10 years working in various companies related to computer technical issue solving and Internet security. I have been working as an author and editor for pcrisk.com since 2010. Follow me on Twitter and LinkedIn to stay informed about the latest online security threats.

▼ Show Discussion